
Sky Island Generator
- Mar 30
- 5 min read
Updated: Apr 2

Introduction
Hello there welcome to my post about my craziest procedural generator yet! Inspired by Zelda Tears of the Kingdom presenting; Seasonal Sky Island Generator. In this post I put my Houdini skills to the test to create a dynamic island generator that covers island creation and placement and dives into the breakdown behind it.
Tool Origins

This tool was built because of my recent explorations into raymarching with clouds. I figured it would be fun to have islands accompanying the clouds and overall, a more completed scene to test out profiling my results. I also really loved Zelda Tears of the Kingdom and wanted to match that whimsical vibe.

Tool Development:

Development was a bit slower than anticipated with my planning due to my lecturing job taking up the majority of the week. However I made quick progress on weekends, focusing on creating the rocky structure and shaders side by side. I got some useful feedback from peers to reduce noise on the top and focus on buffing out the edges of the top face generation which helped it match the Zelda sky island more in design.
Spawning Set Dressing Rules:

I created a quick sketchover to better visualise where the points need to appear ontop of my first set of islands. This helped me troubleshoot where I needed extra logic to get rid of spawn points e.g. a group comparison of points intersecting the water plane to spawn lilypads. This automatically removed the points if water was switched off as none would overlap.
Seasons Mockup:
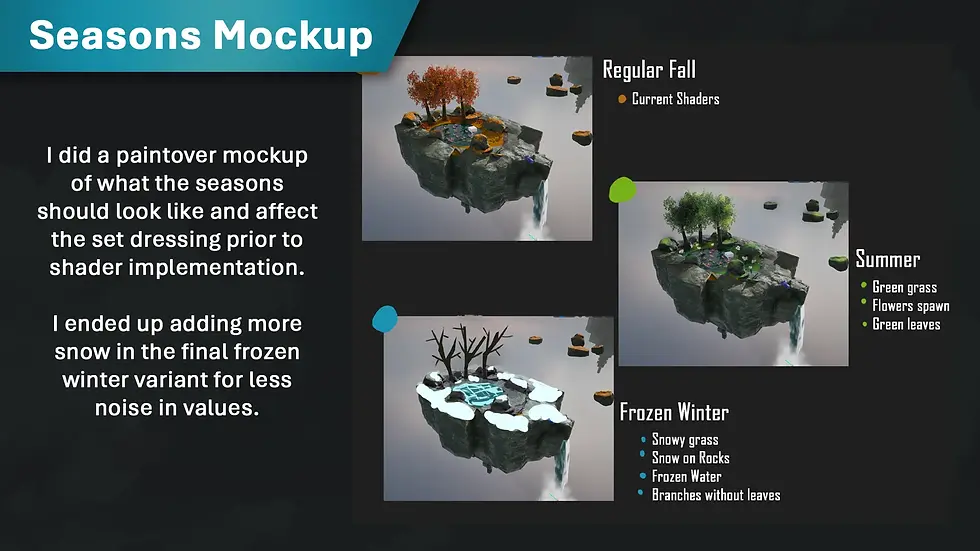
I studied the islands from Zelda TOTK and simplified the weathering effects that occur to work with my existing shaders. I did some simple paintovers in Photoshop to better fit the new rules of what had to be swapped out e.g. water becomes frozen in the winter variant or flowers should spawn in summer/spring.
Houdini Breakdown:

This video goes over the complete graph and explains the why behind the nodes I used to make the final island result. I highly recommend watching it before continuing.
Mesh Shaders for Unreal Engine

For the stone, I used vertex data baked from concavity, thickness and ambient occlusion in Houdini that was stored in the RGB channels. This allowed easy adjustment for colour variations in crevices and edge information.

As for general noise I used a tileable to create a result similar to Zelda Tears of the Kingdom with the exception of detailed normals for easier shading.

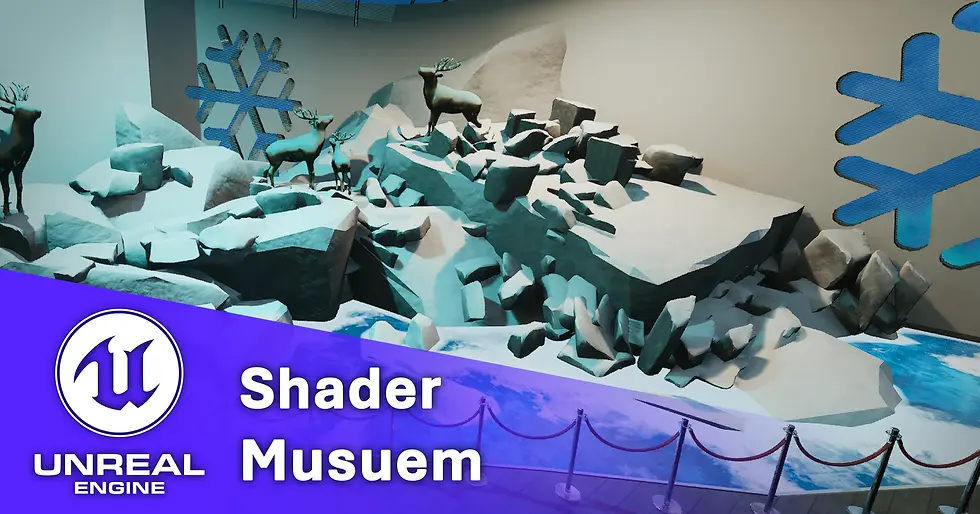
The water I experimented with using the opaque but still convincing single layer water blend mode in Unreal Engine as I knew I would have alpha overdraw on the lily pads that would spawn. By having an opaque material this reduced the result. The ice shader is very similar to my flat ice one created as part of my shader museum here: Shader Museum

As for the grass I wanted to use Runtime Virtual Textures (RVTS) to drive the colour however encountered a problem that when generating geometry as an HDA, the runtime switch would not toggle and would need to be manually adjusted. This made the grass spawn as black so I used an if node to have it fall back on a set colour if it could not find a VRT texture.
Bugs and Problem Solving:

There was a lot of bugs especially once converting my subnet into a HDA and dragging it into Unreal. References initially broke however I was easily able to fix it by exposing the string parameters. Some shaders broke due to UVS which I was able to fix by returning back to texture coordinate rather than texture bomb. I also changed how the waterfall generated as the original outputs made it generate from inside the water spawn point, but this caused too many issues with it weirdly looking like it came out of nowhere. The thickness changed too as panning around the island would make the water disappear due to its thinness which was unlike what I envisioned the game style to be able to do.
Instancing and Memory Profiling

As I was testing the execution of the HDA I noticed that each island ended up taking up a lot of memory and causing slowdown in large clusters. I used Unreal’s profiling tools to figure out the root cause, which ended up being mesh cost. Originally my generators would place meshes from a location on disk as this would allow me to swap out models easily and preview them in the viewport of Houdini. However, in engine the final models would get combined into one big unique final mesh, causing issues when lodding and bloating the memory cost. In total my islands took up 500 megs of memory for the static mesh cache alone which was insane, I knew that Unreal has fantastic instancing capabilities so I swapped out the mesh placement for my grass with an instance attribute that would call to the reference in the project. This created significant savings as the total memory cost of an island went down to around 90 megs. I repeated this for my foliage and rocks. One weird quirk I did notice was that the foliage instancing in particular had to have a separate output as merging them would confuse the foliage actor. During baking the data would also need to be deleted if undesired in the viewport at times. However, minus these weird quirks the performance boost was great when loading into a level full of islands. I know for further optimisation during runtime, LODS of the islands can bring down cost even further in geometry alongside mipmapping all the tiling textures to much lower resolution.
Project Reflection

Overall, this project was a lot of fun, and I have more confidence in visualising the process for creating various shapes in Houdini. Its also taught me how much math is involved in tech art, more than half of my logic relied on wrangles to get location data relying on radius data. I really love Houdibis detail panel you can just about translate any data across different graphs alongside into UE. The tool began as an investigation into raymarching which I did initially do but to be honest the majority of the original shader I had made was not created by me from scratch and so the project was less of a display of what I had learnt and more of what I could replicate. I still struggle to wrap my head around HLSL, but I will look into it in the future. Now the outcomes are made by me from scratch it gave me a great chance to combine all my favourite aspects of tech art, procedural tools and shaders! With Embark studios dropping their behind the scene breakdown of their chaos driven destructible house generator (check it out here) I will be moving into creating some buildings to learn more about that workflow. If I was to do this project again I would expose more parameters in the future about placement to allow overrides for artists to place trees and waterfalls where desired, however after generation this is still fully possible to do for more narrative driven set dressing. Stay tunes for more fun projects!
Bibliography
(HDRI) - Guest, J. (2025). Citrus Orchard Road (Pure Sky) HDRI • Poly Haven. [online] Poly Haven. Available at: https://polyhaven.com/a/citrus_orchard_road_puresky.
Lilypad’s - Quixel Bridge. “Rembrandt Water Lily.” Fab.com, 2024, www.fab.com/listings/96391dd8-2556-47cf-a3ff-de5634adf19d. Accessed 23 Dec. 2025.
Comments